|
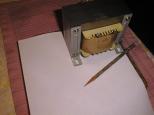
Using an ordinary piece of paper (taken from
the printer paper tray), the transformer is
positioned into one corner. Using a pencil,
the transformer feet are outlined along with
the slotted holes.
|

|
Remove the transformer and touch up the
traces so that they look acceptable.
|
|
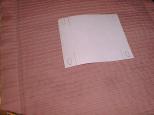
Using ordinary scissors, the outpaper is
trimmed to size.
|
|
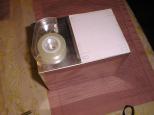
Using ordinary tape, the outline is taped to
the desired transformer location. I did not
worry about making a mirror image of the
template, since the transformer holes are
symetric.
|
|
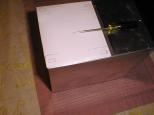
I temporarily put the two box pieces together
to make the box stiff. Using a sharp metal
awl, I dimpled four starter holes where I
wanted the holes to be drilled. I want the
drilled screws as close into the transformer
as possible, since lip inteference is going
to be a problem.
|
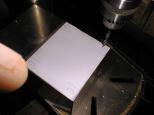
|
The hole is lined up on the drill press for
holes for #10-24 hardwarae.
|
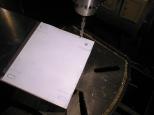
|
The first hole is drilled
|
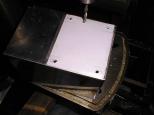
|
The remaining three holes are drilled.
|
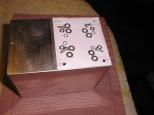
|
The hardware for each hole consists of 1/2"
#10-24 round head screw, three #10 washers,
a #10 lock washer, and a #10-24 hex nut.
The picture only shows 2 washers per hole,
but when I finally put the transformer in,
I wound up using three #10 washers.
|
|
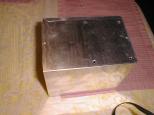
The paper template is no longer needed and it
is removed.
|
|
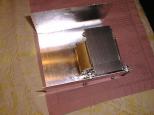
For each hole, I insert the 1/2" #10 round
head screw through the hole from the outside.
Next, on the inside, I put two #10 washers,
followed by the transformer leg, another #10
washer, a #10 lock washer and top it off with
a #10-24 hex nut. When all four screws are
mounted there is a little play in the transformer
left to move it around a little. After it is
positioned "just right", all four screws are
tightned down hard.
|
|
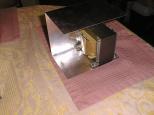
Afterwards the transformer is not going anywhere.
|
|
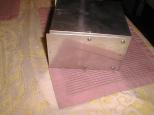
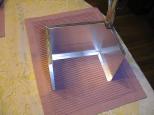
Next I put the other box piece on and notice
that the washers interfere with the box lips.
I knew that was coming.
|
|
Using a nibbling tool, I start removing metal
in all the places where the washers are hitting
the box lip.
|
|
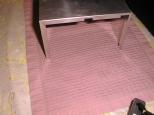
When I am done, there are three notches in
the box lip -- one in the corner, one in
the middle of the top edge, and one in the
bottom side.
|
|
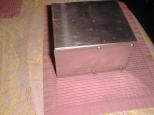
When the box is put together, everything fits
just fine.
|


