This is just one of
FunCAD tutorials. This project is
work in progress.
FunCAD QuickStart Tutorial
The purpose of this tutorial is to get you started
in FunCAD quickly. There is not a lot of in depth
discussion.
-
Start FunCAD from the command line via the
following command:
prompt> funcad &
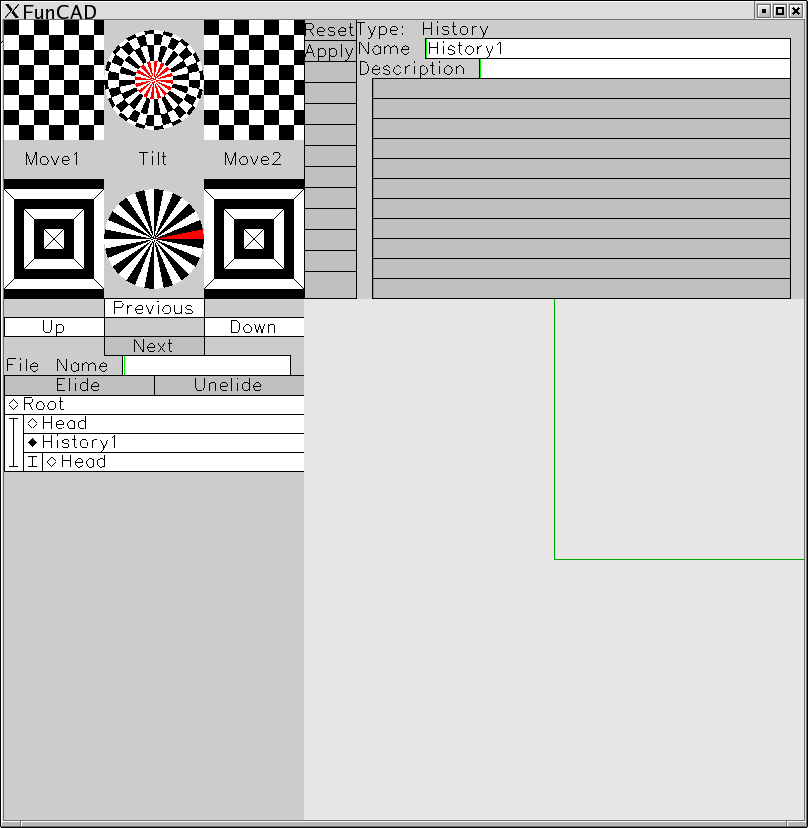
This should bring up the following display:
-
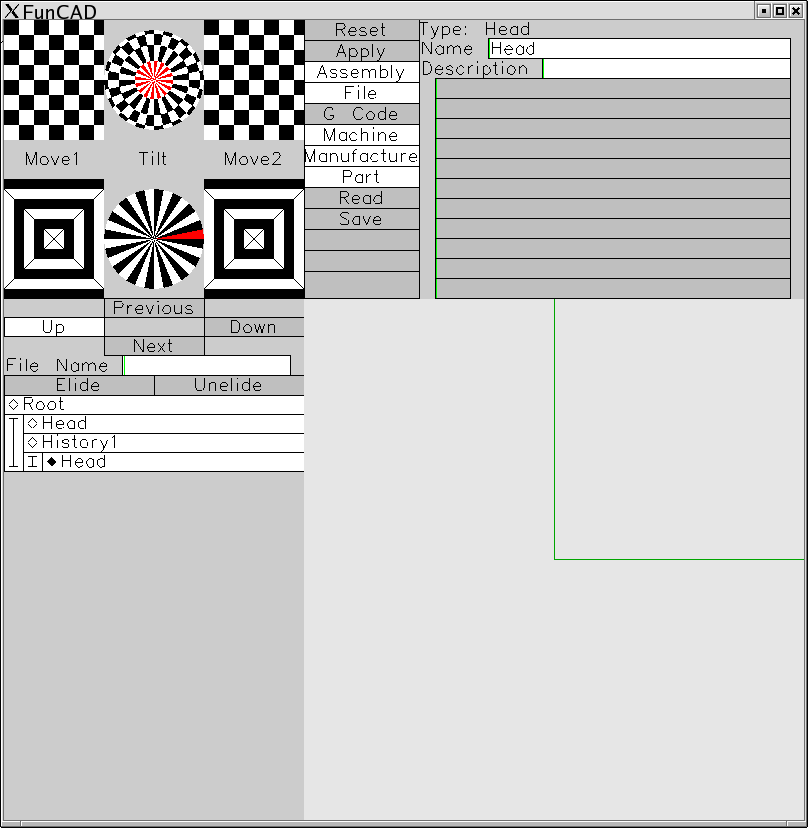
Next, click on the node labeled "Head" under
the node labeld "History1" in the design
tree outline. The selection diamond should
move from "History1" to "Head" as shown below:
-
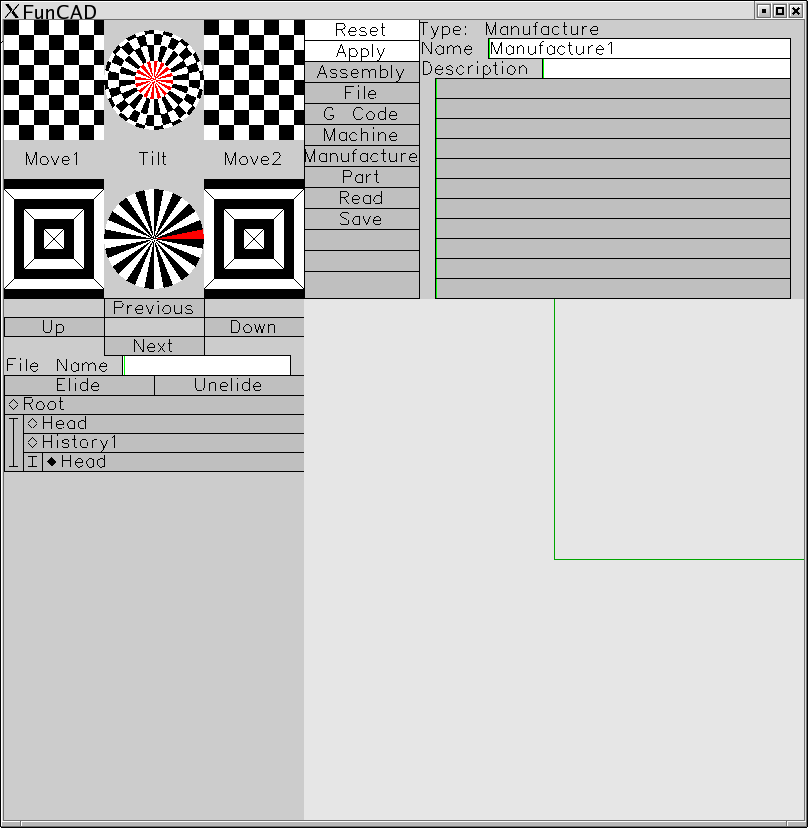
Next, click no the operation labeled [Manufacture]
in the operations list to get the display below:
-
Now, click no the field labeled Name with
a value of "Manufacture1". Using the
[Backspace] and [Delete] keyboard keys,
delete the value "Manufacture1". Again,
using the keyboard, type in the new name
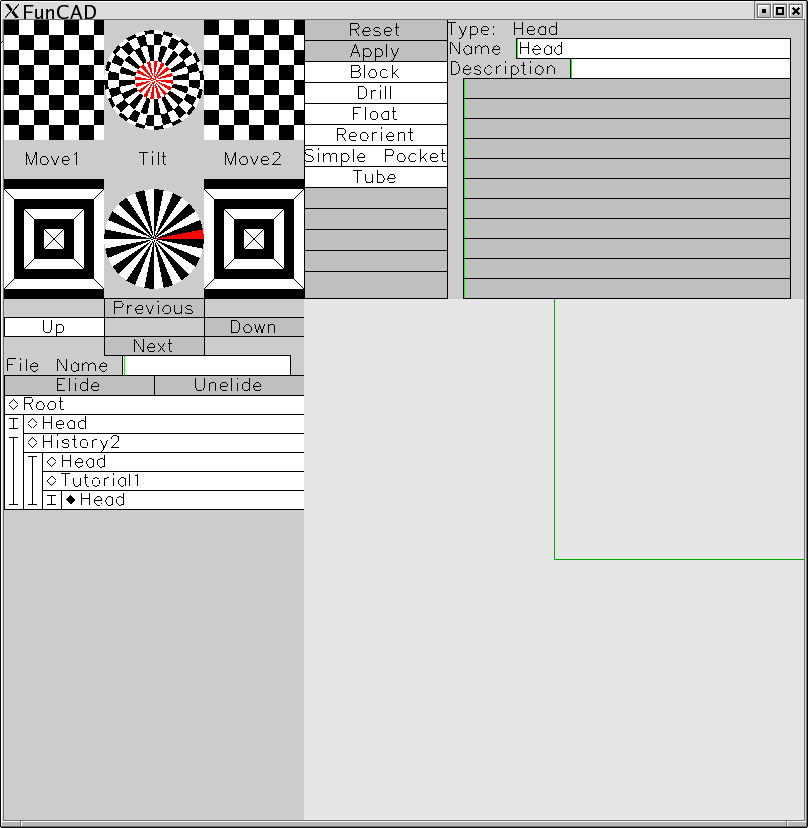
"Tutorial1". Finally, click on the [Apply]
button to commit the change to design tree
resulting in the following display with
a new Manufacture node labeled "Tutorial1"
in the design tree outline:

-
Next, select the "Head" node under "Tutorial1"
to get the following display:
-
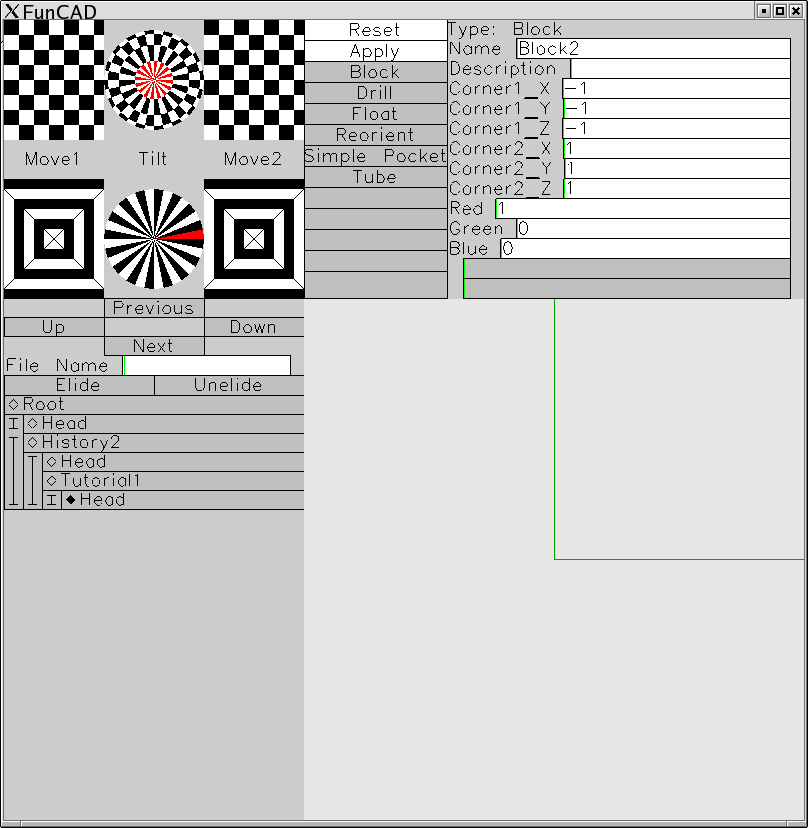
Now, start installing a block node by clicking
on the [Block] operation button to get the
following display:
-
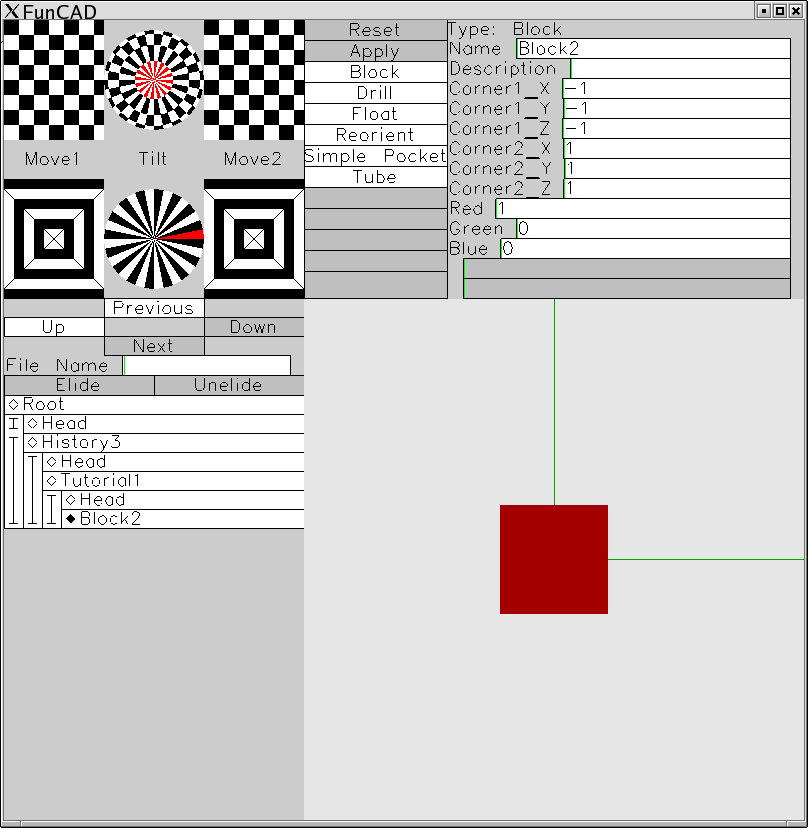
Next, click on the [Apply] button to get the next
display which has one red 1 × 1 × 1
cube in it:
-
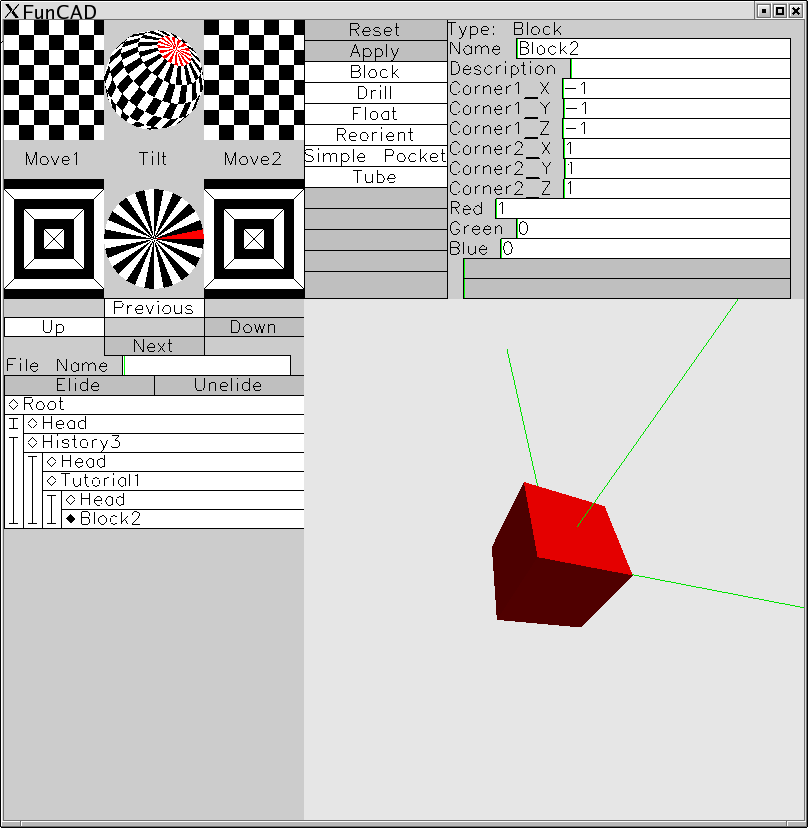
You can verify that there is really a block there
by clicking on the track ball above "Tilt" and
tilting the block over a little as follows:
-
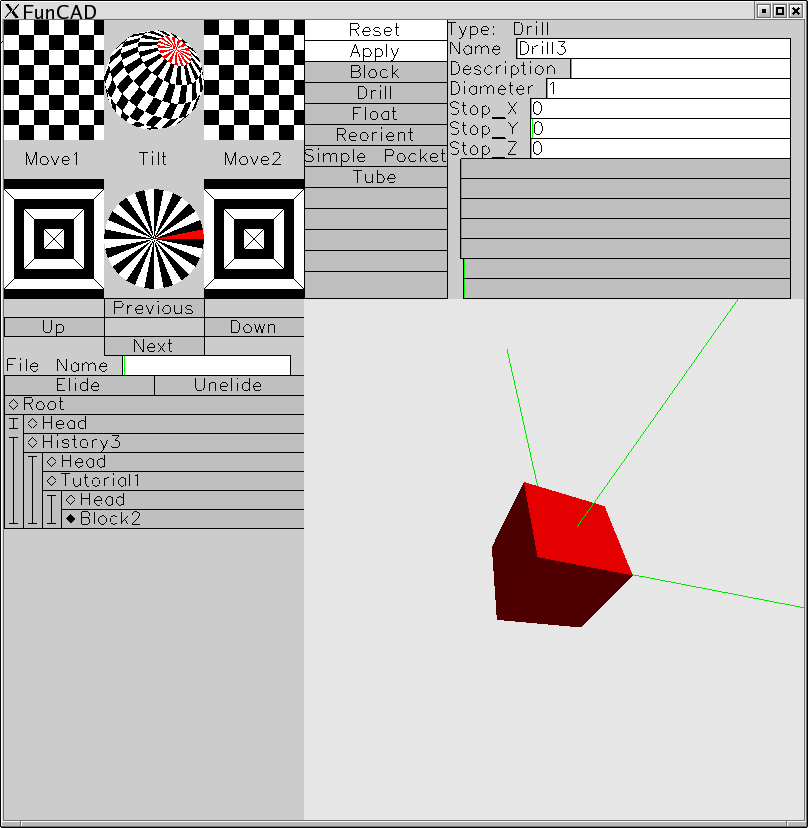
Now start drilling a hole halfway into the cube by
clicking on the [Drill] button:
-
Finish the drill operation by clicking on [Apply]:
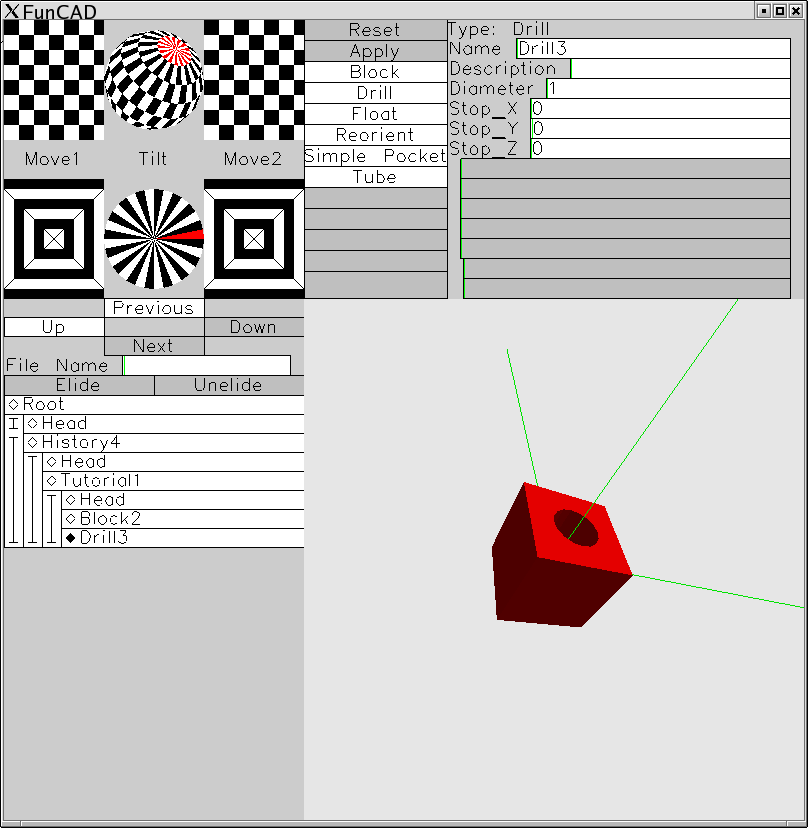
-
Select the "Tutorial1" node by clicking on it in
the design tree outline:
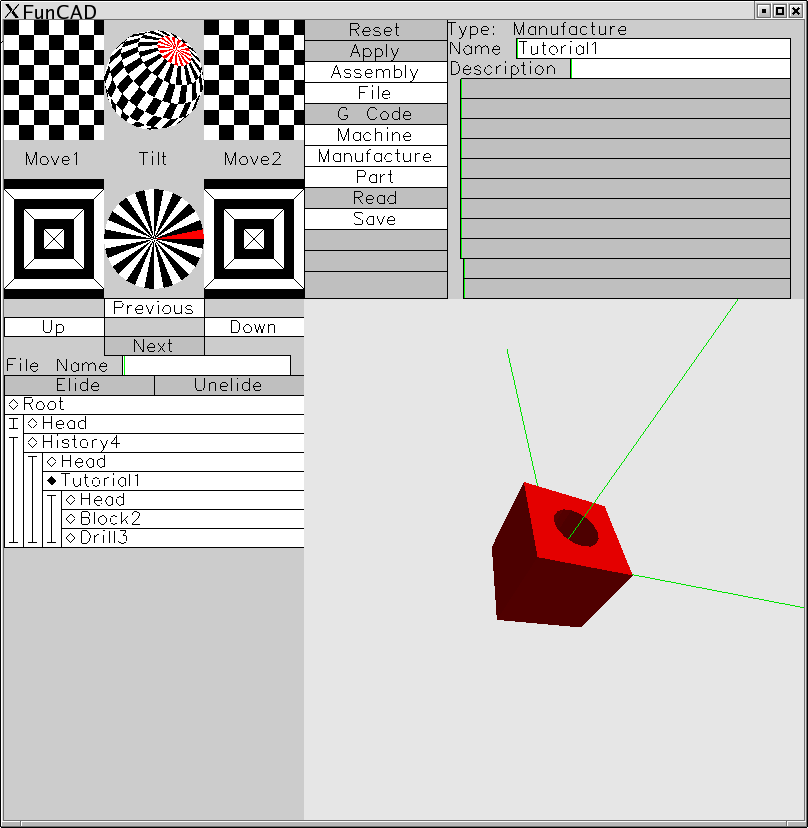
-
Save the cube out to disk by clicking on the
[Save] operation:
The [Save] button will briefly flash Green but leave
the display intact. The file is written as
"Tutorial1.fcd" (i.e. the node name with a suffix
of ".fcd".)
-
Exit FunCad by clicking on the close button labeled
as [X] in the far upper right corner. Verify that
Tutorial1.fcd was written out using the ls
directory listing command:
    prompt> ls -l Tutorial1.fcd
    -rw-rw-r--  1 user  group    size date time Tutorial1.fcd
-
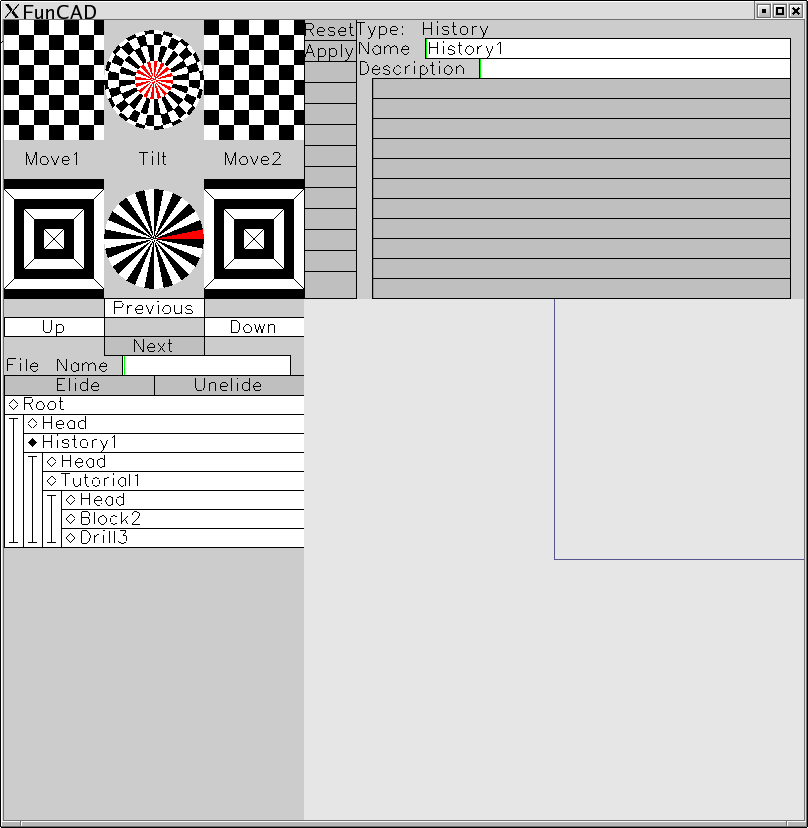
Restart FunCAD from the command line as follows:
prompt> funcad Tutorial1.fcd &
And the following dispaly is shown:
-
Click on the "Drill3" node to force the display of
the previously designed block with a hole:
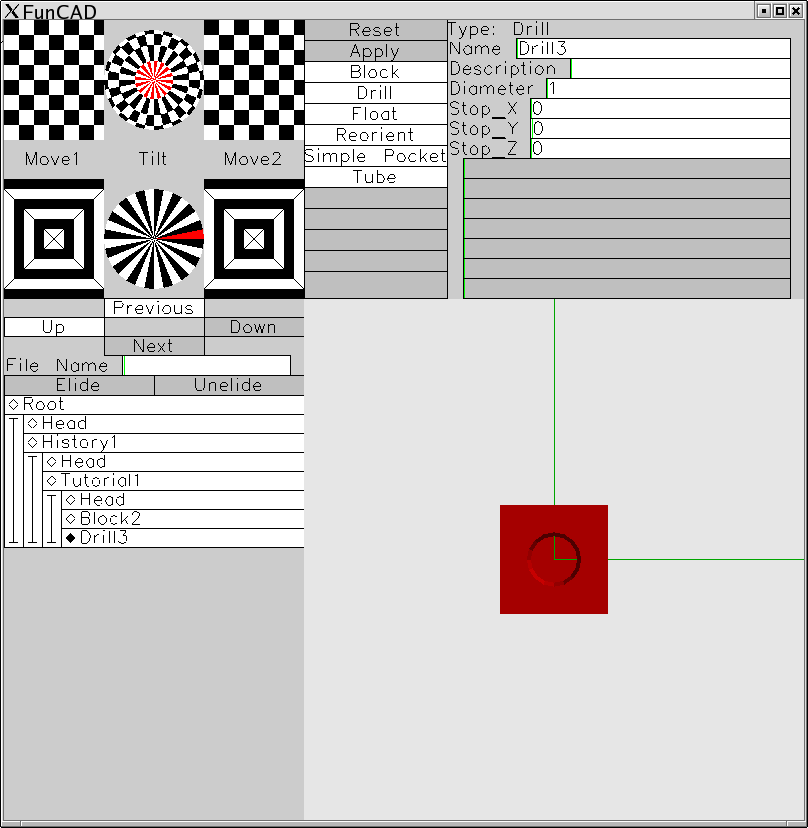
-
Exit FunCAD by clicking on the [X] in the upper
right corner.
-
That is it, this tutorial is done.
In this tutorial, you have started up FunCAD,
created a Manufacture node, entered a block
into the Manufacture node, drilled halfway
into the block, saved the result and exited
FunCAD. FunCAD was restarted, the previously
created file was reread and redisplayed. It
is not much, but it is start!
Copyright (c) 2005 by
Wayne C. Gramlich All rights reserved.